Send Review Comment to Broker
Starting state: You have completed environment setup, the frontend connects to the backend, and your terminal is in start on the disposable cluster in default.
In this lesson, submit a review and observe its new-review-comment CloudEvent in event-display. It will not be inserted into the database yet. Use the YAML steps below; the CLI Broker command is an alternative, not an additional step.
What Knative features will we learn about?
- Knative Eventing Broker
- Knative Eventing Sink
- Knative SinkBinding
What does the deliverable look like?

In simple words: after the user clicks on the submit button in the frontend, the comment will show up in the event-display service.
Implementation
Step 0: Know the basics
In the world of microservices and REST APIs, we often refer to requests as the primary method of communication between services. However, in an event-driven architecture, the smallest unit is an event. Knative Eventing adheres to the CloudEvents specification, making it essential to understand this concept before moving forward. The review is carried in the event's data.reviewText; its type is new-review-comment. The examples below show both attributes and data. Keep the CloudEvents specification as supporting reference rather than a prerequisite detour.
Step 1: Understand Book Review Service
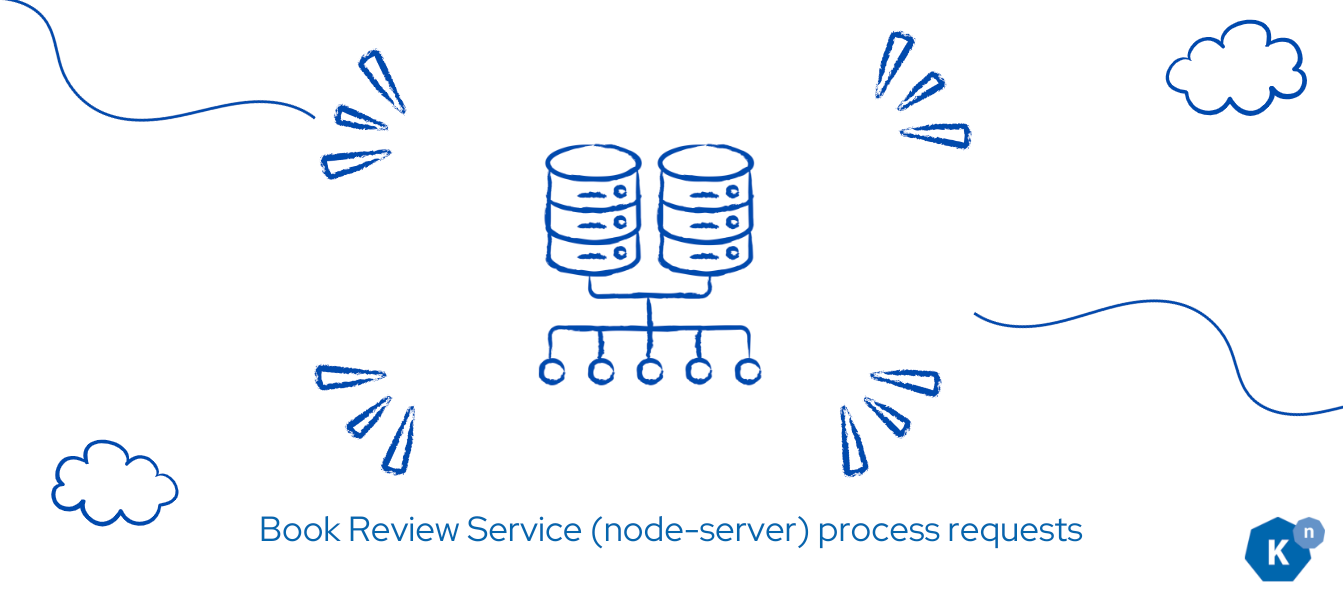
The book review service is our Node.js API server, playing a crucial role in our event-driven architecture. It's essential to understand how it operates, as it receives events and processes them appropriately.
Key Concepts: Broker and SinkBinding
Before we dive into the code, let's clarify two important concepts:
- Broker: Acts as the central point in the event-driven architecture, routing events to the correct destinations.
- SinkBinding: This Knative Eventing component automatically injects the Broker's address into the environment variable
K_SINK, ensuring that the Node.js server always has the correct address without manual updates.
You will get a deeper understanding along the way.
Let's examine the node-server/index.js file, starting with the /add function. When a user submits a comment through the frontend, it is first received by this endpoint.
app.post('/add', async (req, res) => {
  try {
    const receivedEvent = HTTP.toEvent({headers: req.headers, body: req.body});
    const brokerURI = process.env.K_SINK;

    if (receivedEvent.type === 'new-review-comment') {
      const response = await fetch(brokerURI, {
        method: 'POST',
        headers: {
          'Content-Type': 'application/json',
          'ce-specversion': receivedEvent.specversion,
          'ce-type': receivedEvent.type,
          'ce-source': receivedEvent.source,
          'ce-id': receivedEvent.id,
        },
        body: JSON.stringify(receivedEvent.data),
      });
    }
  } catch (err) {
    console.error(err);
  }
});
Receiving Events: The /add endpoint receives events from the frontend. It uses CloudEvents' SDK to convert the incoming request into a CloudEvent object:
const receivedEvent = HTTP.toEvent({headers: req.headers, body: req.body});
Determining Broker Address: The Broker's address is dynamically assigned in the cluster. The Node.js server retrieves this address from the environment variable K_SINK:
const brokerURI = process.env.K_SINK;
You may wonder who told the environment variable about the address? That’s Knative SinkBinding.
Event Filtering: The service checks the event type. If it's a new-review-comment, it forwards the event to the Broker:
if (receivedEvent.type === 'new-review-comment') {
  // logic that forwards the event, see below
}
Forwarding Events Logic: The event is forwarded to the Broker with the appropriate CloudEvent headers:
const response = await fetch(brokerURI, {
  method: 'POST',
  headers: {
    'Content-Type': 'application/json',
    'ce-specversion': receivedEvent.specversion,
    'ce-type': receivedEvent.type,
    'ce-source': receivedEvent.source,
    'ce-id': receivedEvent.id,
  },
  body: JSON.stringify(receivedEvent.data),
});
Exploring Other Functions
The Node.js server contains other functions that follow a similar pattern, with detailed comments explaining their functionality:
/insert: Receives CloudEvents and inserts the payload into the PostgreSQL database./comments: Creates a WebSocket connection with the frontend to transport comments from the database.
The excerpts above focus on event forwarding. The checked-in node-server/index.js also acknowledges successful forwarding with an HTTP 200 response and returns errors for failed forwarding or unexpected event types. Its binary-mode CloudEvent uses application/json for the data body and ce-* headers for attributes; do not label that data-only body as a structured CloudEvent.
Step 2: Create Broker
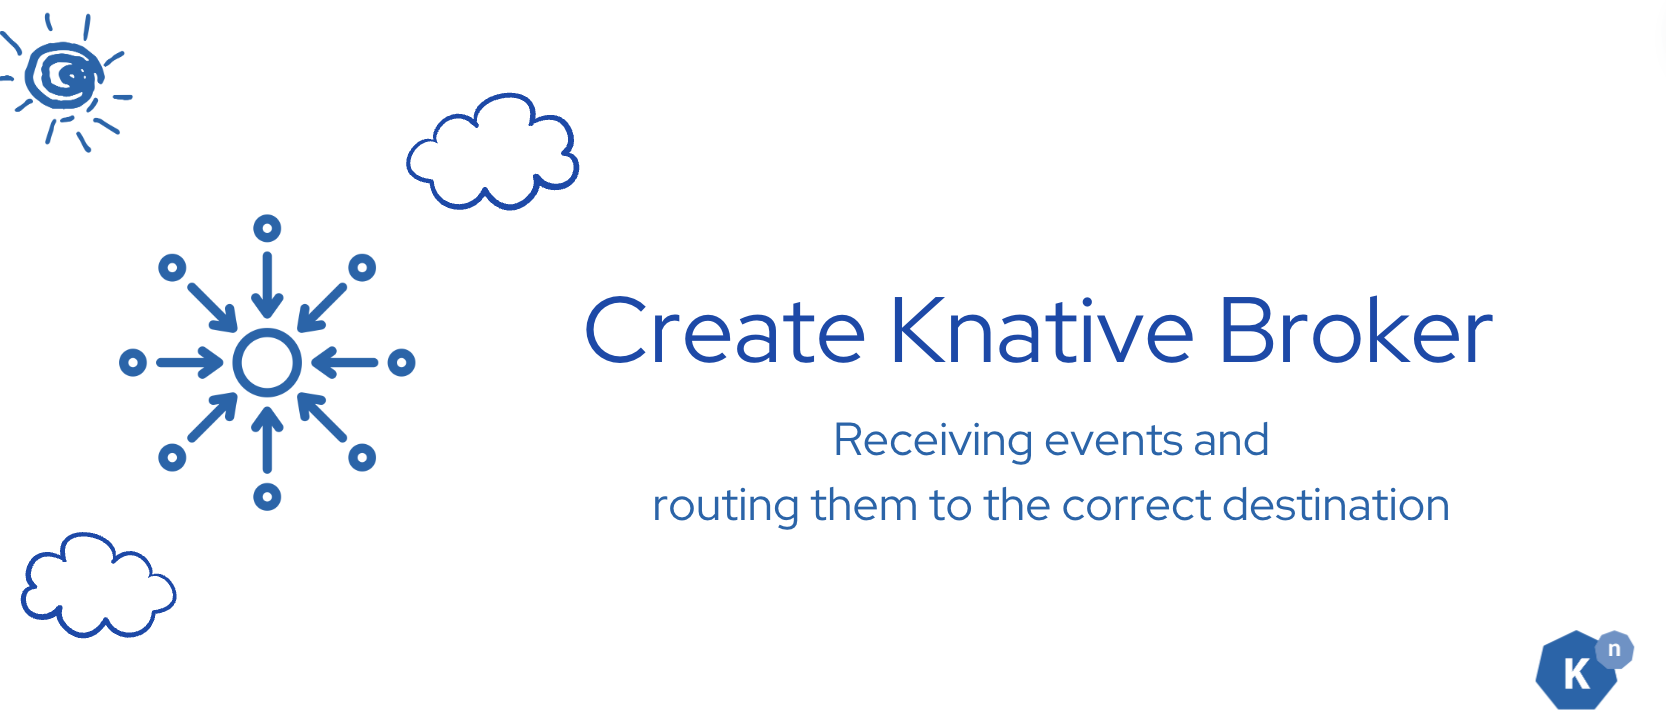
The Broker acts as a router in your event-driven application, receiving events and routing them to the correct destination.
- 1: Create a new YAML file named
node-server/config/200-broker.yamland add the following content:
node-server/config/200-broker.yaml
apiVersion: eventing.knative.dev/v1
kind: Broker
metadata:
    name: bookstore-broker
- 2: Apply the YAML file:
kubectl apply -f node-server/config/200-broker.yaml
You will see the following output:
broker.eventing.knative.dev/bookstore-broker created
Alternatively, use the Knative CLI kn to create the Broker:
kn broker create bookstore-broker
You will see the following output:
Broker 'bookstore-broker' successfully created in namespace 'default'.
Verify
Running the following command to list the Brokers:
kubectl get brokers
You should see the Broker bookstore-broker with READY status as True.
NAME               URL                                                                                 AGE     READY   REASON
bookstore-broker   http://broker-ingress.knative-eventing.svc.cluster.local/default/bookstore-broker   7m30s   True
Troubleshooting
If there are issues, use the following command to diagnose:
kubectl describe broker bookstore-broker
Step 3: Create a SinkBinding between the Node.js server and Broker
Hardcoding URLs to connect with Kubernetes services in your application can be limiting and inflexible. For this sample, the SinkBinding injects the Broker destination as K_SINK into the selected Deployment's pod template.
Learn more about SinkBinding here and the spec schema!
Create a SinkBinding:
- 1: Create a new YAML file named
node-server/config/300-sinkbinding.yamland add the following content:
node-server/config/300-sinkbinding.yaml
apiVersion: sources.knative.dev/v1
kind: SinkBinding
metadata:
  name: node-sinkbinding
spec:
  subject:
    apiVersion: apps/v1
    kind: Deployment
    selector:
      matchLabels:
        app: node-server
  sink: # In this case, the sink is our Broker, which is the eventing service that will receive the events
    ref:
      apiVersion: eventing.knative.dev/v1
      kind: Broker
      name: bookstore-broker
- 2: Apply the YAML file:
kubectl apply -f node-server/config/300-sinkbinding.yaml
You will see the following output:
sinkbinding.sources.knative.dev/node-sinkbinding created
Verify
Running the following command to list the sinkbindings:
kubectl get sinkbindings
node-sinkbinding with READY status as True.
NAME               SINK                                                                                AGE     READY   REASON
node-sinkbinding   http://broker-ingress.knative-eventing.svc.cluster.local/default/bookstore-broker   2m43s   True
Step 4: Create event-display service
Event display is a debugging tool in Knative Eventing that allows you to use it as a temporary destination (a.k.a sink) for your event to go.
Create an Event Display Service:
- 1: Create a new YAML file named
node-server/config/100-event-display.yamland add the following content:
node-server/config/100-event-display.yaml
apiVersion: apps/v1
kind: Deployment
metadata:
  name: event-display
spec:
  replicas: 1
  selector:
    matchLabels:
      app: event-display
  template:
    metadata:
      labels:
        app: event-display
    spec:
      containers:
        - name: event-display
          image: gcr.io/knative-releases/knative.dev/eventing/cmd/event_display
          ports:
            - containerPort: 8080

---
apiVersion: v1
kind: Service
metadata:
  name: event-display
spec:
  selector:
    app: event-display
  ports:
    - protocol: TCP
      port: 80
      targetPort: 8080
  type: ClusterIP
- 2: Apply the YAML file:
kubectl apply -f node-server/config/100-event-display.yaml
You will see the following output:
deployment.apps/event-display created
service/event-display created
Verify
Running the following command to list the pods:
kubectl get pods
You should see the pod event-display-XXXXXXX-XXXXX in "Running" status.
NAME                                  READY   STATUS    RESTARTS   AGE
bookstore-frontend-7b879ffb78-9bln6   1/1     Running   0          91m
event-display-55967c745d-bxrgh        1/1     Running   0          4m44s
node-server-644795d698-r9zlr          1/1     Running   0          4m43s
Step 5: Create a Trigger that connects the Broker and event display
A Trigger is able to forward the event to the correct destination based on the CloudEvent's attributes. It is the connector between the Broker and the event destination.
A Filter in the Trigger will filter the events based on the filter condition. You will specify your filter condition in the Trigger’s YAML file. If no filter is specified, the Trigger will forward all the events that the Broker received.
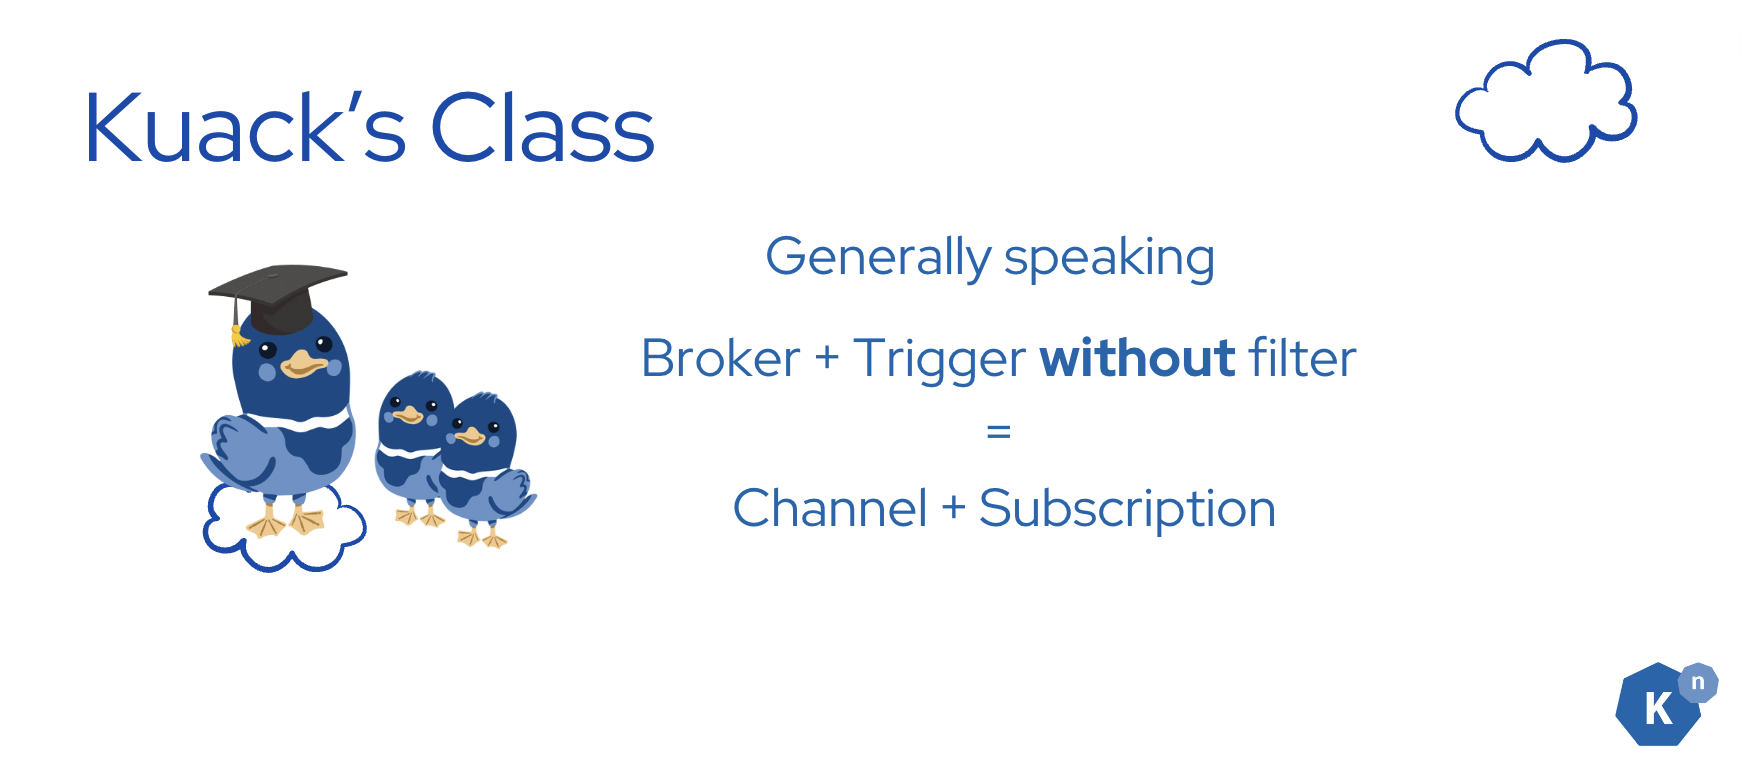
Channels and Subscriptions provide another event-routing abstraction. They are not interchangeable with Brokers and Triggers; this tutorial uses a Broker throughout.
Learn more about Broker & Trigger here!
Create a Trigger:
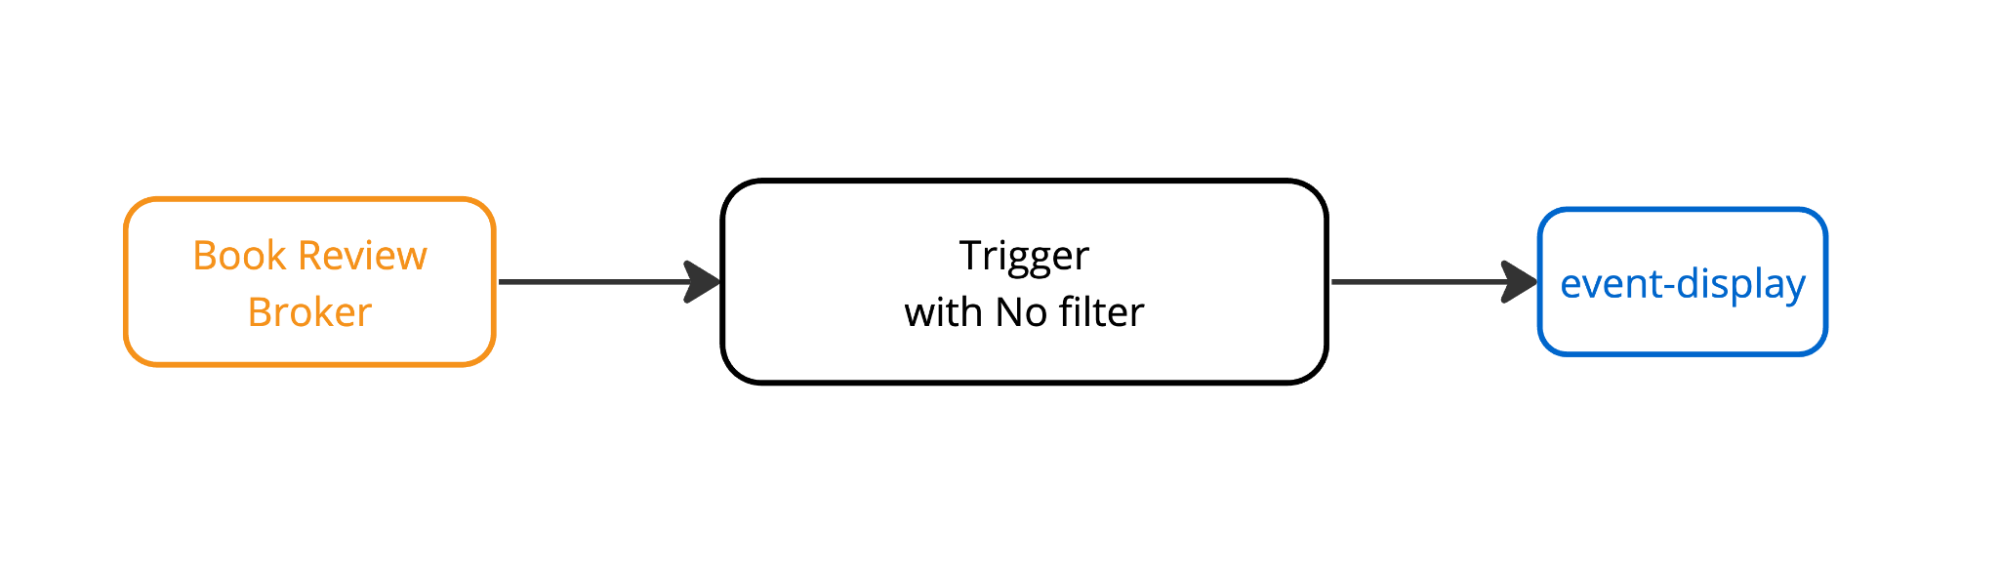
Here we are creating a Trigger that will send all the events to event-display.
- 1: Create a new YAML file named
node-server/config/200-log-trigger.yamland add the following content:
node-server/config/200-log-trigger.yaml
# This Trigger subscribes to the Broker and will forward all the events that it received to event-display.
apiVersion: eventing.knative.dev/v1
kind: Trigger
metadata:
  name: log-trigger
spec:
  broker: bookstore-broker
  subscriber:
    ref:
      apiVersion: v1
      kind: Service
      name: event-display
- 2: Apply the YAML file:
kubectl apply -f node-server/config/200-log-trigger.yaml
You will see the following output:
trigger.eventing.knative.dev/log-trigger created
Verify
Running the following command to list the Triggers:
kubectl get triggers
log-trigger should have READY status as True.
NAME                BROKER             SUBSCRIBER_URI                                                       AGE     READY   REASON
log-trigger         bookstore-broker   http://event-display.default.svc.cluster.local                       6m2s    True
Validate
Open the logs of the event-display with the following command:
kubectl logs -l=app=event-display -f
Verify
Type something in the comment box in the UI and click the submit button. The comment should appear in the event-display service with the following output:
☁️  cloudevents.Event
Validation: valid
Context Attributes,
specversion: 1.0
type: new-review-comment
source: bookstore-eda
id: unique-comment-id
datacontenttype: application/json
Extensions,
knativearrivaltime: 2024-05-19T05:27:36.232562628Z
Data,
{
    "reviewText": "test"
}
Next Step
Stop the log watch with Ctrl+C. Proceed only after seeing your submitted review in a new-review-comment event. This is the first observable result of the core route.
Previous: Environment setup · Route: Bookstore core lessons