Sentiment Analysis Service for Bookstore Reviews
Starting state: You have observed a review event in event-display, and are in start on the same cluster in default.
Create a Python function that labels a review as positive, neutral, or negative and returns a moderated-comment CloudEvent. You will connect it to the review pipeline in the Sequence lesson; Slack is not part of this lesson.
Which Knative features will we learn about?
The ease to use Knative Function to deploy your service, and make it be managed by Knative Serving, which gives you the ability to auto-scale your service to zero, and scale up to handle the demand.
What does the final deliverable look like?
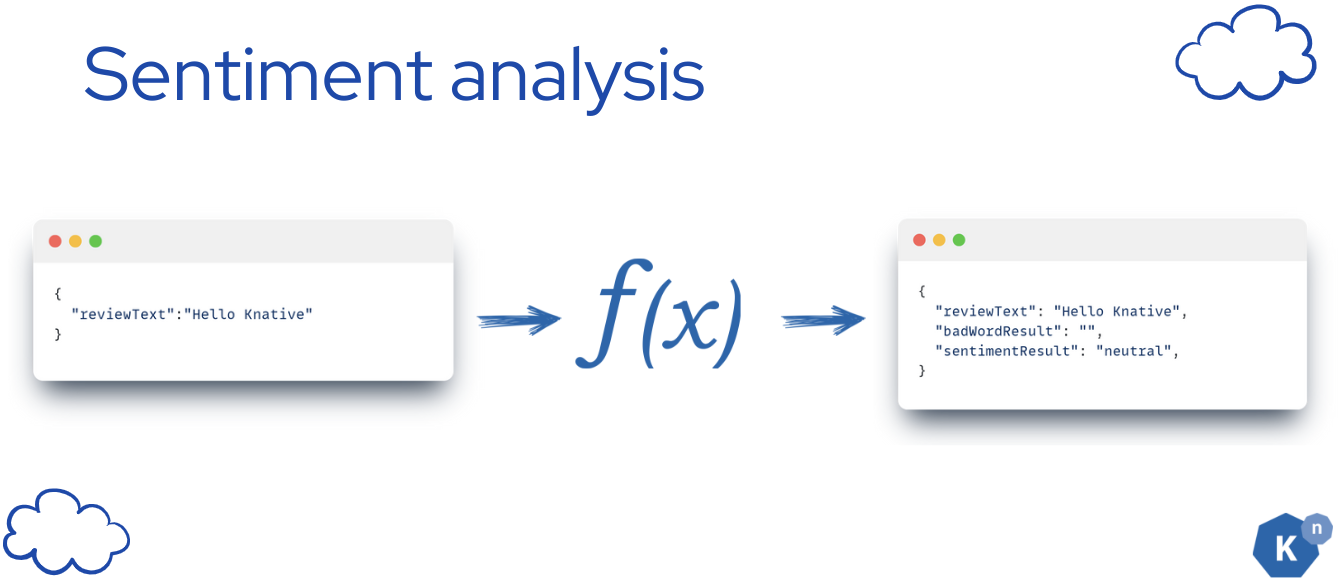
A running serverless Knative Function that contains a python application that receives the new review comments as CloudEvent and returns the sentiment classification of the input text as CloudEvent.
The function's output will be only from:
-
Positive
-
Neutral
-
Negative
Install Prerequisites
Prerequisite 1: Install Knative func CLI
Knative Function enables you to easily create, build, and deploy stateless, event-driven functions as Knative Services by using the func CLI.
In order to do so, you need to install the func CLI. You can follow the Functions CLI installation instructions to install the func CLI.
Verify
Running func version in your terminal to verify the installation, and you should see the version of the func CLI you installed.
Troubleshooting
If you see command not found, you may need to add the func CLI to your PATH.
Prerequisite 2: A usable image registry
You need a running Docker daemon and a registry namespace that you can push images to. The cluster must be able to pull the resulting images; for this exercise, use public images rather than adding private-pull configuration. Authenticate with your registry using its instructions, then set the image prefix in this terminal:
export FUNC_REGISTRY=<your-registry-host/your-namespace>
Replace the placeholder, for example with your registry host and user/organization namespace. Reuse this prefix in the next function lesson. For build and registry details, see building functions and deploying functions.
Implementation
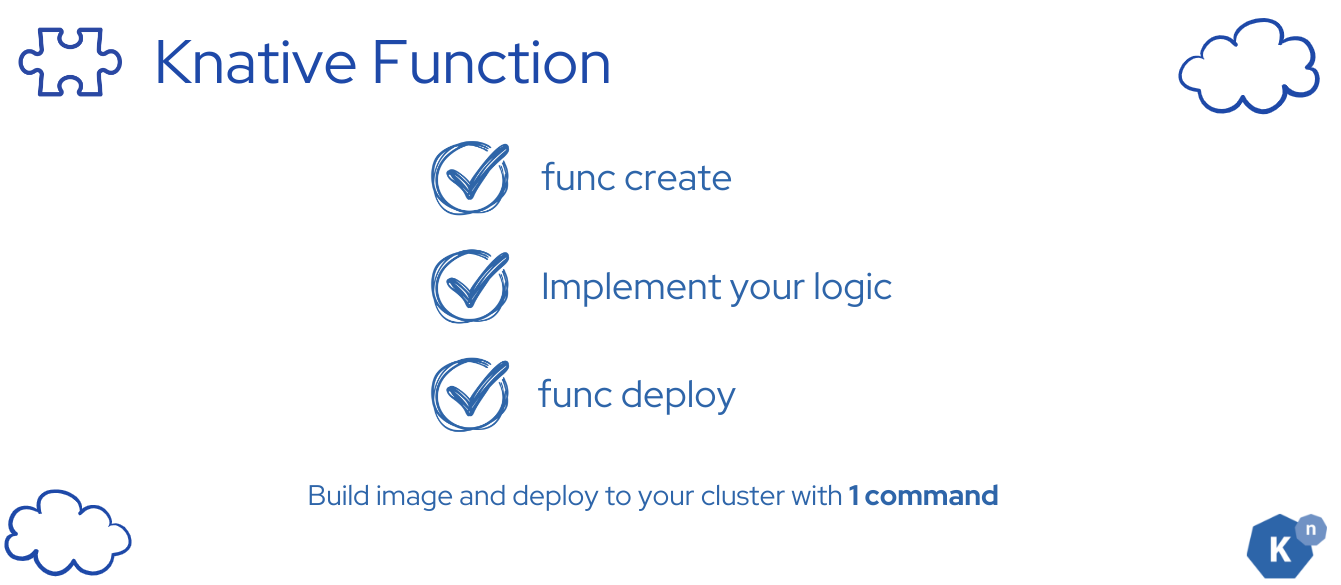
The process is straightforward:
-
Begin by utilizing the
func createcommand to generate your code template. -
Next, incorporate your unique code into this template.
-
Finally, execute
func deployto deploy your application seamlessly to the Kubernetes cluster.
This workflow ensures a smooth transition from development to deployment within the Knative Functions ecosystem.
Step 1: Create a Knative Function template
Create a new function using the func CLI:
func create -l <language> <function-name> -t cloudevents
In this case, we are creating a Python function that handles CloudEvents, so the command will be:
func create -l python sentiment-analysis-app -t cloudevents
This command will create a new directory with the name sentiment-analysis-app and a bunch of files in it. The func CLI will generate a basic function template for you to start with.
You can find all the supported language templates here.
Verify
The file tree -a will look like this:
start/sentiment-analysis-app
.
├── .func
│   └── local.yaml
├── .funcignore
├── .gitignore
├── func.yaml
├── function
│   ├── __init__.py
│   └── func.py
├── pyproject.toml
├── README.md
└── tests
    └── test_func.py
Step 2: Replace the generated code with the sentiment analysis logic
sentiment-analysis-app/function/func.py is the file that contains the code for the function.
You can replace the generated code with the sentiment analysis logic. You can use the following code as a starting point:
sentiment-analysis-app/function/func.py
import logging
from cloudevents.core.v1.event import CloudEvent
from textblob import TextBlob

def new():
    return Function()

class Function:
    async def handle(self, scope, receive, send):
        """ Handle all HTTP requests to this Function. The incoming CloudEvent is in scope["event"]. """
        logging.info("Request Received")

        # 1. Get the incoming CloudEvent
        request_event = scope["event"]

        # 2. Extract the data payload from the event, analyze and create CloudEvent
        response_event = self.analyze_sentiment(request_event.get_data())

        # 3. Send the response
        logging.info(f"Sending response: {response_event.get_data()}")
        await send(response_event)

    def create_cloud_event(self, inputText, badWordResult, data):
        attributes = {
            "type": "moderated-comment",
            "source": "sentiment-analysis",
            "datacontenttype": "application/json",
            "badwordfilter": badWordResult,
        }

        data = {
            "reviewText": inputText,
            "badWordResult": badWordResult,
            "sentimentResult": data,
        }

        return CloudEvent(attributes, data)

    def analyze_sentiment(self, text):
        review_text = text.get("reviewText", "")
        analysis = TextBlob(review_text)
        sentiment = "neutral"

        if analysis.sentiment.polarity > 0:
            sentiment = "positive"
        elif analysis.sentiment.polarity < 0:
            sentiment = "negative"

        badWordResult = ""
        try:
            badWordResult = text["badWordResult"]
        except KeyError:
            pass

        return self.create_cloud_event(review_text, badWordResult, sentiment)
Step 3: Configure the dependencies
The sentiment-analysis-app/pyproject.toml file contains the project configuration with the dependencies for the function. Add the textblob dependency to the dependencies array :
sentiment-analysis-app/pyproject.toml
[project]
name = "function"
description = ""
version = "0.1.0"
requires-python = ">=3.9"
readme = "README.md"
license = "MIT"
dependencies = [
    "httpx",
    "cloudevents>=2.2,<3",
    "pytest",
    "pytest-asyncio",
    "textblob", # <-- add this dependency
]
authors = [
    { name="Your Name", email="you@example.com"},
]

[build-system]
requires = ["hatchling"]
build-backend = "hatchling.build"

[tool.pytest.ini_options]
asyncio_mode = "strict"
asyncio_default_fixture_loop_scope = "function"
Knative Function will automatically install the dependencies listed here when you build the function.
Step 4: Build and run your Knative Function locally (Optional)
Click here to expand
In Knative Function, there are two ways to build: using the pack build or using the source-to-image (s2i) build.
Before we get started, configure the container registry to push the image to the container registry. You can use the following command to configure the container registry:
export FUNC_REGISTRY=<your-container-registry>
In this case, we will use the s2i build by adding the flag -b=s2i, and -v to see the verbose output.
cd sentiment-analysis-app
func build -b=s2i -v
When the build is complete, you will see the following output:
🙌 Function built: <Your container registry>/sentiment-analysis-app:latest
This builds the function image locally; publishing is part of deployment. Run these commands from sentiment-analysis-app (enter it with cd sentiment-analysis-app from start). After the build is complete, run the function:
func run -b=s2i -v
Troubleshooting
❗Error: '/home/Kuack/Documents/knative/docs/code-samples' does not contain an initialized function
Solution: You may want to check whether you are in the correct directory. You can use the following command to check the current directory.
pwd
If you are in the right directory, and the error still occurs, try to check your func.yaml, as it has to contain the field created and the right timestamp to be treated as a valid Knative Function.
In the future, you can skip the step of func build, because func run will automatically build the function for you.
You will see the following output if the function is running successfully:
❗function up-to-date. Force rebuild with --build
Running on host port 8080
---> Running application from script (app.sh) ...
Leave func run running and open a second terminal in sentiment-analysis-app. Send a CloudEvent to the local function (use the listening port from func run if it differs):
func invoke -t http://localhost:8080 -f=cloudevent --data='{"reviewText": "I love Knative so much"}' --content-type=application/json --type="new-review-comment" -v
where the -f flag indicates the type of the data, is either HTTP or cloudevent, and the --data flag is the input text. You can read more about func invoke here.
Expect a moderated-comment response with sentimentResult: positive. IDs and timestamps vary:
Context Attributes,
  specversion: 1.0
  type: moderated-comment
  source: sentiment-analysis
  id: ebbcd761-3a78-4c44-92e3-de575d1f2d38
  time: 2024-05-27T04:44:07.549303Z
  datacontenttype: application/json
Extensions,
  badwordfilter:
  sentimentresult: positive
Data,
  {
    "reviewText": "I love Knative so much",
    "badWordResult": "",
    "sentimentResult": "positive"
  }
Step 5: Deploy the function to the cluster
Enter the function project from start. If you ran the optional local test, stop func run with Ctrl+C and return to start first:
cd "$BOOKSTORE_START"
cd sentiment-analysis-app
Keep FUNC_REGISTRY set to your registry prefix. The commands below run from this function directory, not start.
In Knative Function, there are two ways to build: using the pack build or using the source-to-image (s2i) build.
After you have finished the code, you can deploy the function to the cluster using the following command:
Note
Using -b=s2i to specify how the function should be built.
func deploy -b=s2i -v
Verify
When the deployment is complete, you will see the following output:
Function deployed in namespace "default" and exposed at URL:
http://sentiment-analysis-app.default.svc.cluster.local
This URL is illustrative; Quickstart normally reports an externally reachable sslip.io address. Use the actual Service URL for the invocation below.
Tip
You can find the URL of the Knative Function (Knative Service) by running the following command:
kubectl get kservice
You will see the URL in the output:
NAME                     URL                                                       LATESTCREATED                  LATESTREADY                    READY   REASON
sentiment-analysis-app   http://sentiment-analysis-app.default.svc.cluster.local   sentiment-analysis-app-00001   sentiment-analysis-app-00001   True
Knative Serving: scale down to zero
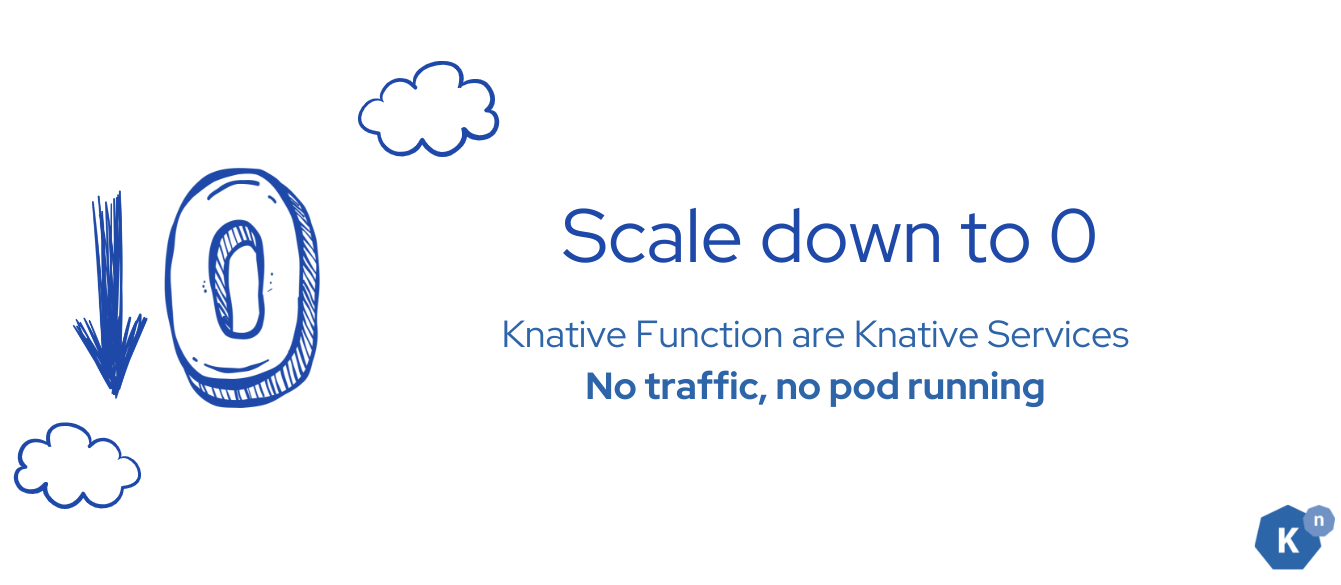
If you use the following command to query all the pods in the cluster, you will see that the pod is running:
kubectl get pods
This lists pods in the current namespace; use -A only if you want all namespaces.
And you will find that your sentiment analysis app is running:
NAMESPACE   NAME                                      READY   STATUS    RESTARTS   AGE
default     sentiment-analysis-app-00002-deployment   2/2     Running   0          2m
But if you wait for a while without sending any CloudEvent to your function, and query the pods again, you will find that the pod that has your sentiment analysis app disappeared!
This is because Knative Serving's autoscaler will automatically scale down to zero if there is no request to the function! Learn more at Knative Autoscaling.
Verify

After deployment, the func CLI provides a URL to access your function. You can verify the function's operation by sending a request with a sample review comment.
Simply use Knative Function's command func invoke to directly send a CloudEvent to the function on your cluster:
func invoke -t "$(kn service describe sentiment-analysis-app -o url)" \
  -f=cloudevent --data='{"reviewText":"I love Knative so much"}' \
  --content-type=application/json -v
-fflag indicates the type of the data, is eitherHTTPorcloudevent--dataflag is the input text-tflag is the URI to the Knative Function.
Verify
If you see the response, it means that the function is running successfully.
Context Attributes,
  specversion: 1.0
  type: moderated-comment
  source: sentiment-analysis
  id: 0c2d0659-a30e-4efd-bcce-803f15ff5cc5
  time: 2024-06-11T15:12:43.795405Z
  datacontenttype: application/json
Extensions,
  badwordfilter:
  sentimentresult: positive
Data,
  {
    "reviewText": "I love Knative so much",
    "badWordResult": "",
    "sentimentResult": "positive"
  }
Next Step

In this tutorial, you learned how to create a serverless function for a simple sentiment analysis service with Knative.
Next, we'll deploy another ML service following the same procedure.
Tip
Return to the tutorial working directory before proceeding: cd "$BOOKSTORE_START".
Previous: Send a review to the Broker · Next: Deploy the inappropriate-language filter